Always
Draw one card
Take the top card from the Draw pile.
The tactical football card battler
Set up five players, combine action cards and out-think your opponent across two quick-fire halves.

90-second overview
Place five Player cards across Defense, Midfield and Attack. Your formation limits which Action cards you can play.
Start each turn by taking the top card from the Draw pile.
Play one or more cards, or play nothing and draw a second card.
Launch attacks, match them with defense and finish regular time with more goals than your opponent.
Before kick-off
One central Draw pile, one Goal pile and a five-player formation for each side.
Shuffle all 60 orange, green and blue Action cards. Deal 5 face down to each player, then place the rest face down as the Draw pile.
Insert the Half-Time card in the middle of the Draw pile.
Give each player 2 Substitutions, 1 Formation Switch, 1 VAR Goal Check and 1 Out of Position card. Keep these Management cards beside the hand.
Give 5 Home Player cards to one player and 5 Away Player cards to the other. Turn the remaining Player cards over to form the Goal pile.
The Home Team starts. You can also decide the first player with a coin toss.
Your tactical shape
Each Player card occupies Defense, Midfield or Attack. The number in a line is the maximum number of matching Action cards you can play at once.
Your starting formation must place at least one Player in every position. Once the match begins, Management cards can break that restriction.
2-1-2: up to 2 Defense, 1 Midfield and 2 Attack Action cards.
Every turn
A turn is simple. The choices inside it are not.
Always
Take the top card from the Draw pile.
Option A
Play one or more cards allowed by your formation.
Option B
Play nothing and take a second card instead.
Full-time whistle
Move all cards used this turn face up to the Discard pile.
The match engine
Only the active player can start an attack. Once it begins, both players are part of the same turn until the duel is resolved.
Start by playing one or more +Attack cards together. Once the attack is initiated, you cannot add more +Attack cards or trigger a second attack.
Play enough +Defense to match the Attack value, use an effect that reduces it, or deliberately concede without spending cards.
The defense falls short. The scorer records a goal.
The defense succeeds and neither side plays another card.
A successful defense becomes an attack. The exchange can continue back and forth.
The player who concedes starts the next turn and draws two cards instead of one.
Regular time
Play until the Half-Time card is revealed on top of the Draw pile. Stop drawing, complete the current turn, then play one final turn.
Rebuild your entire formation for free with no restrictions. If you hold fewer than 5 Action cards, draw back up to 5.
The player who did not start the first half kicks off. When the Draw pile is depleted, finish that turn and play one final turn.
Most goals after regular time wins.
Know your squad
Filter the deck by position. Management cards sit outside your hand and are discarded once used.
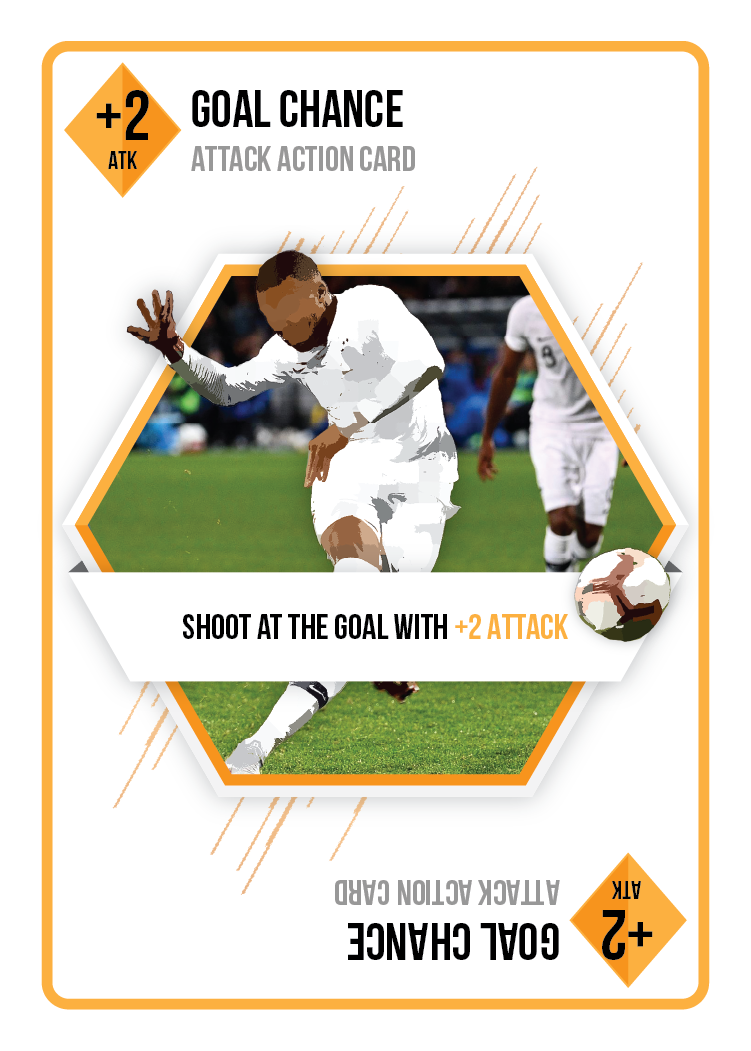
Shoot at the goal with +2 Attack.
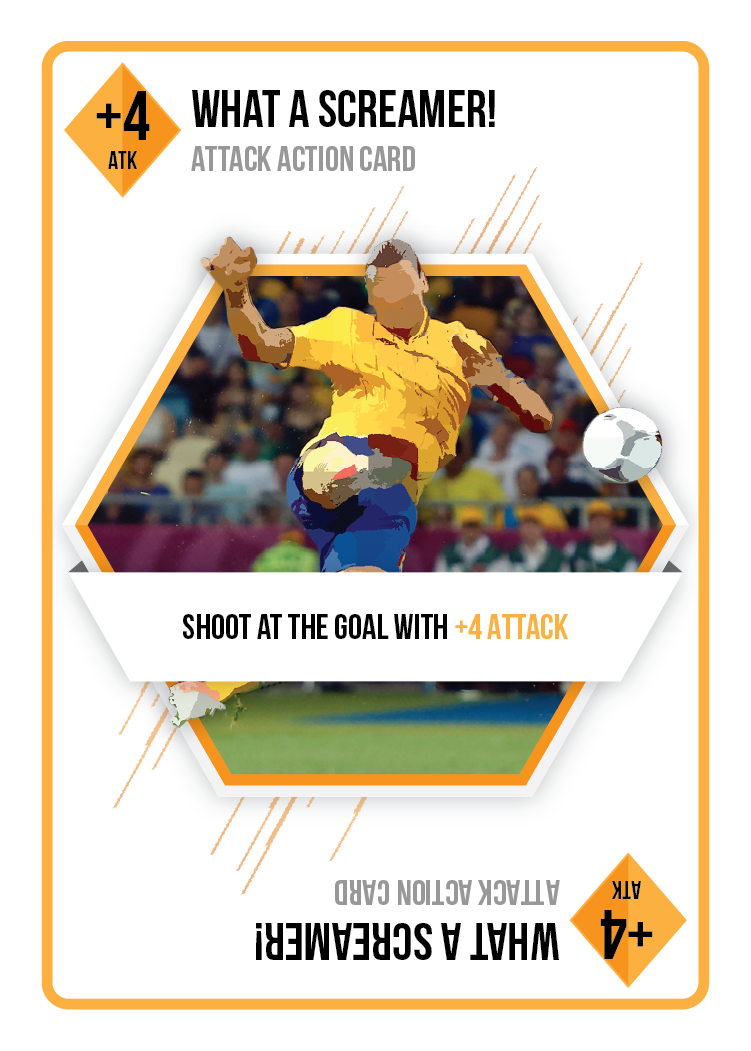
Shoot at the goal with +4 Attack.
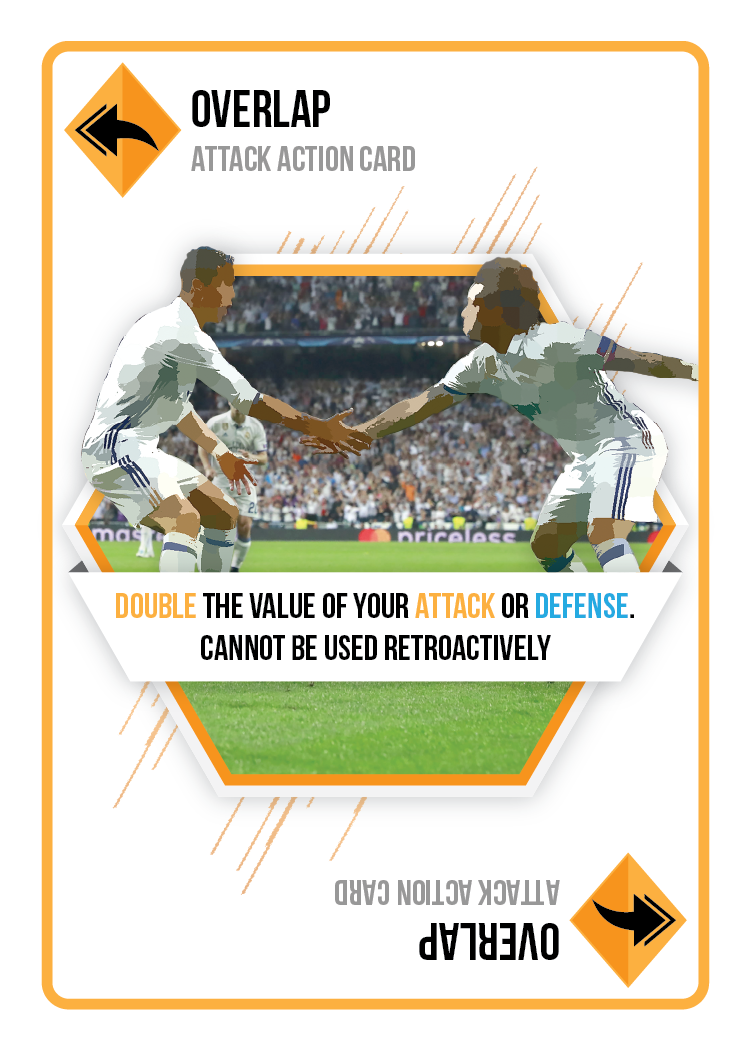
Double an Attack or Defense value. Not retroactive.
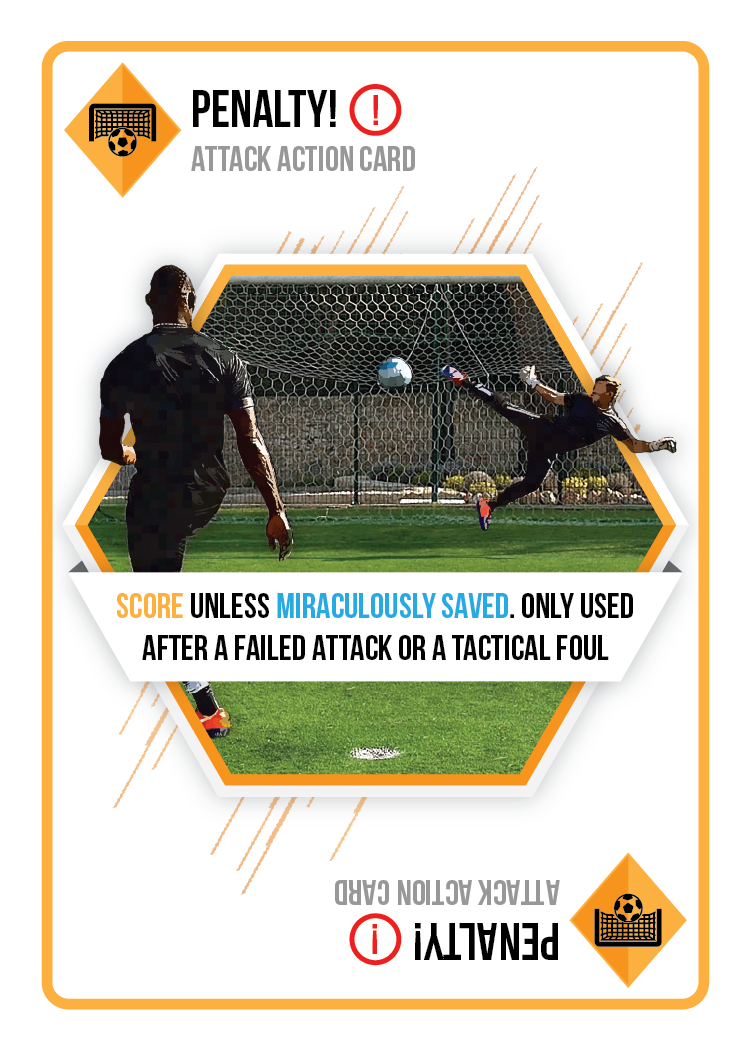
Score unless miraculously saved. Use after a successful defense or Tactical Foul, before another card.
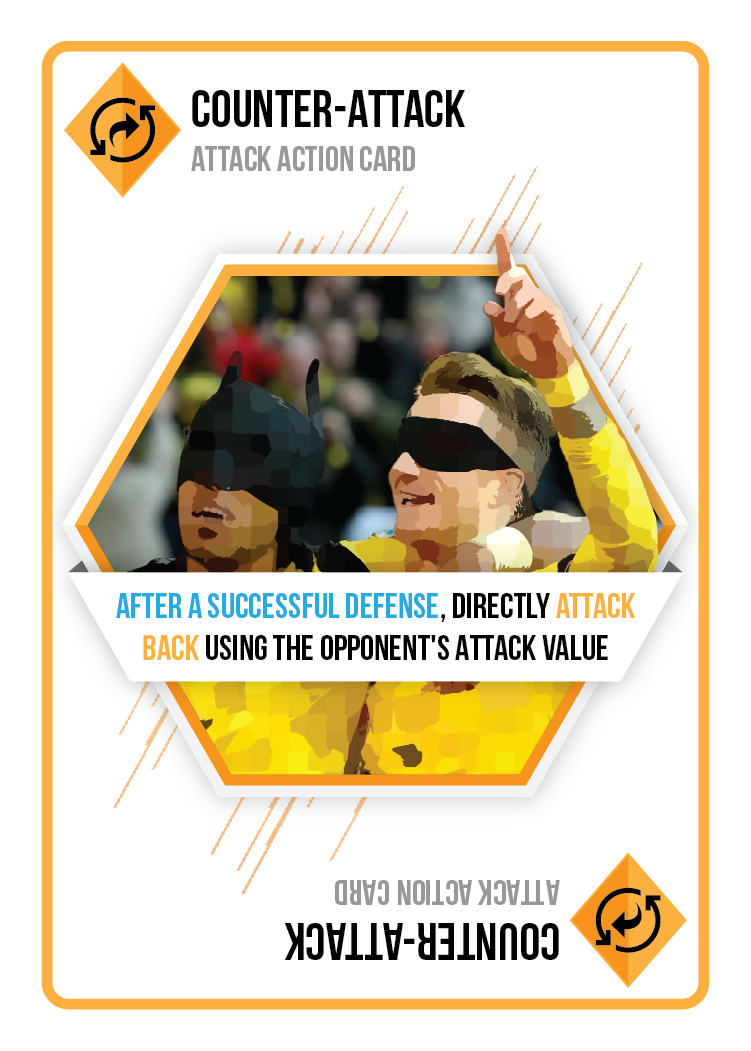
After a successful Defense, attack back using the opponent’s Attack value.
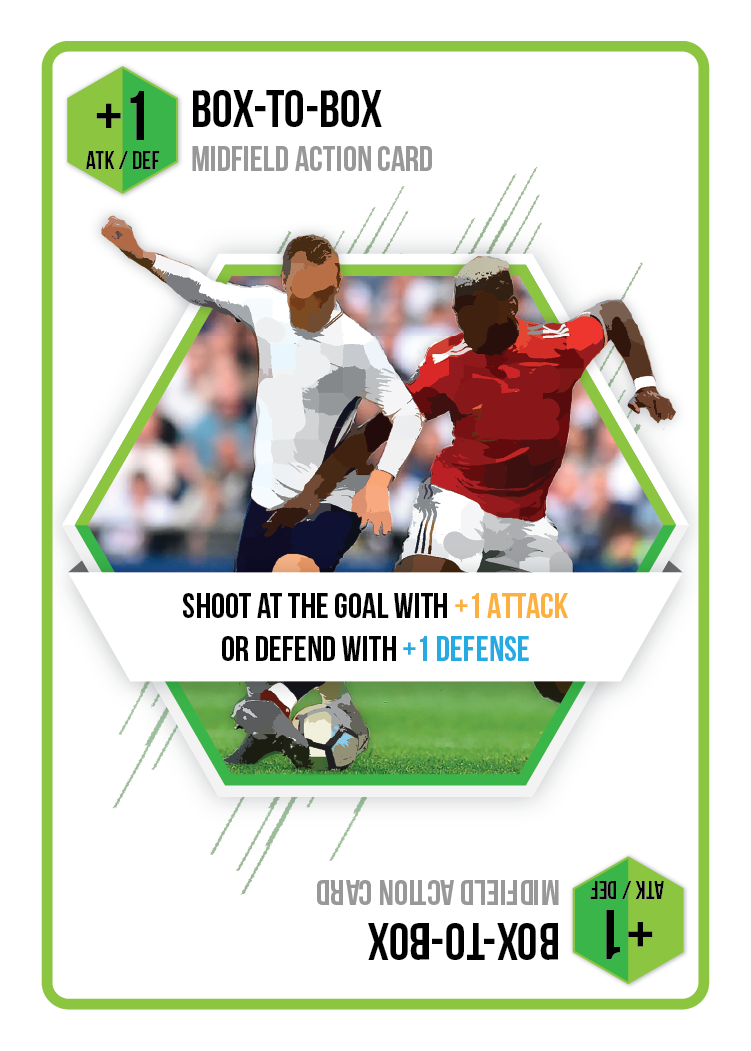
+1 Attack or +1 Defense.
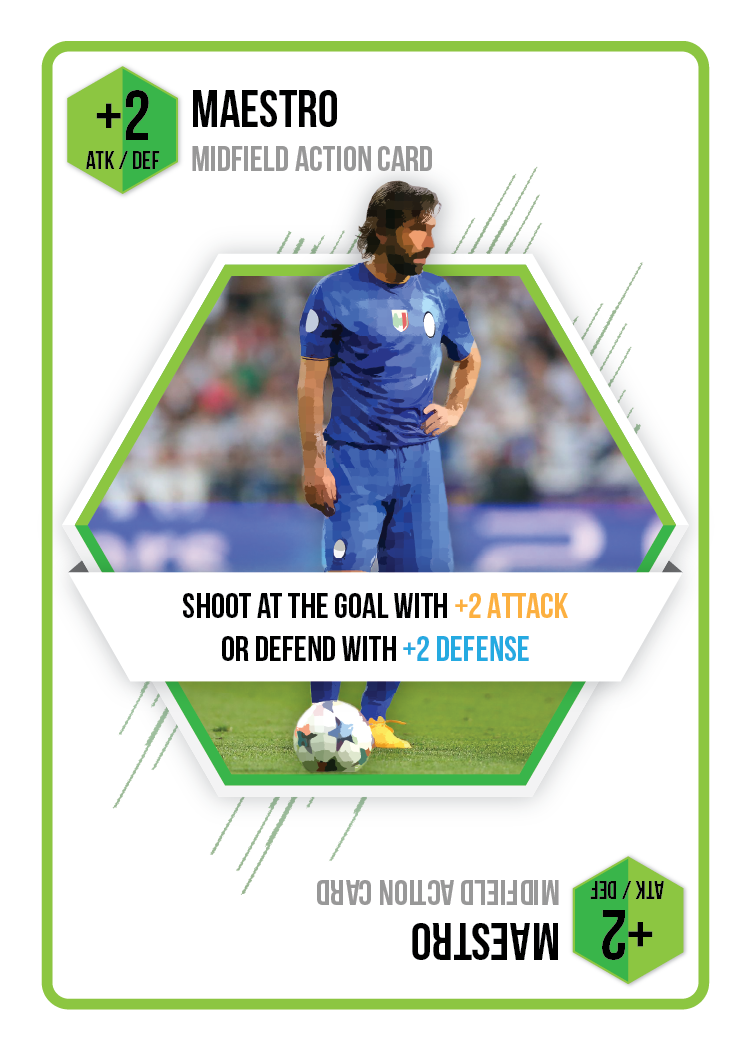
+2 Attack or +2 Defense.
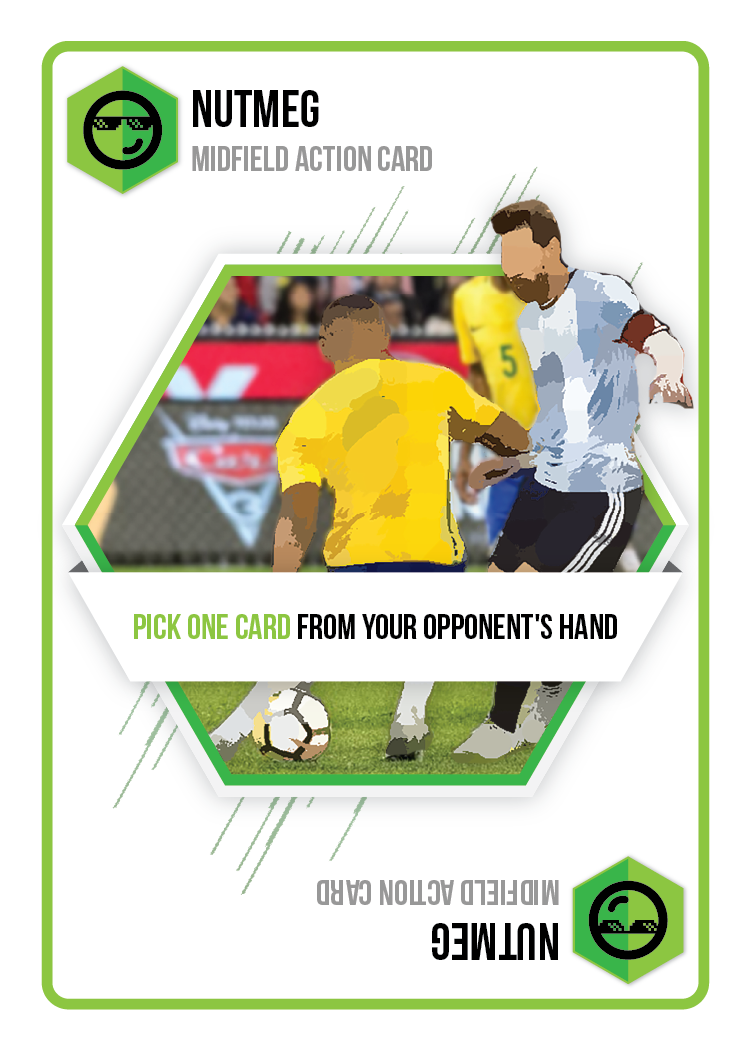
Pick one card from your opponent’s hand.
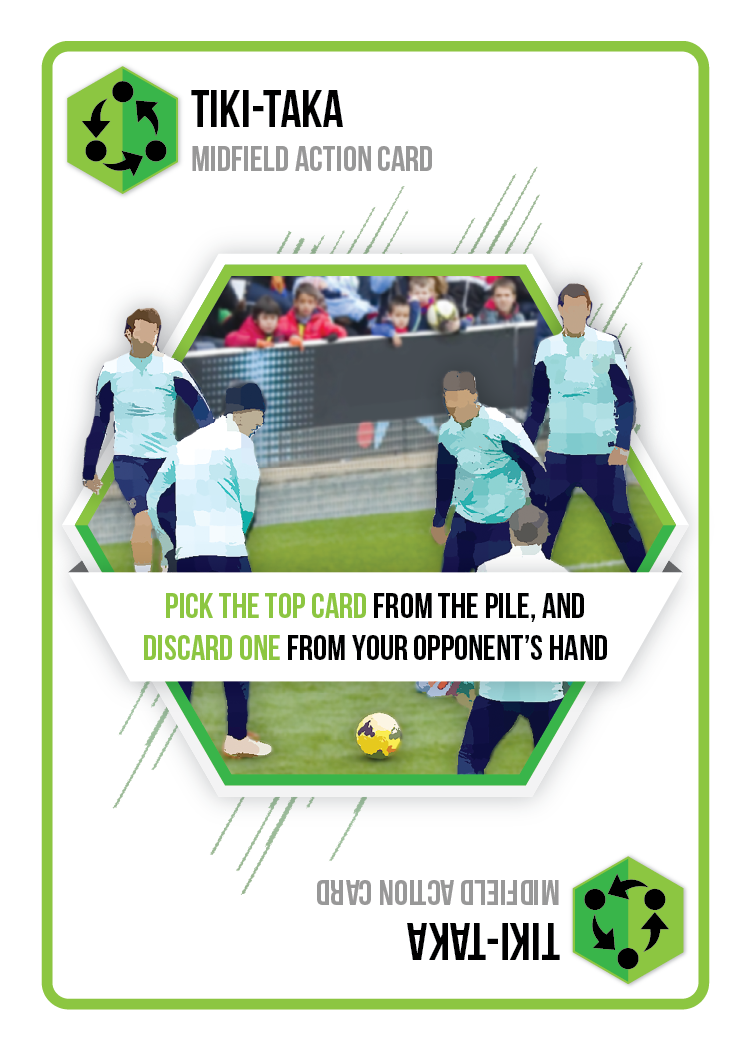
Take the top card, then discard one card from your opponent’s hand.
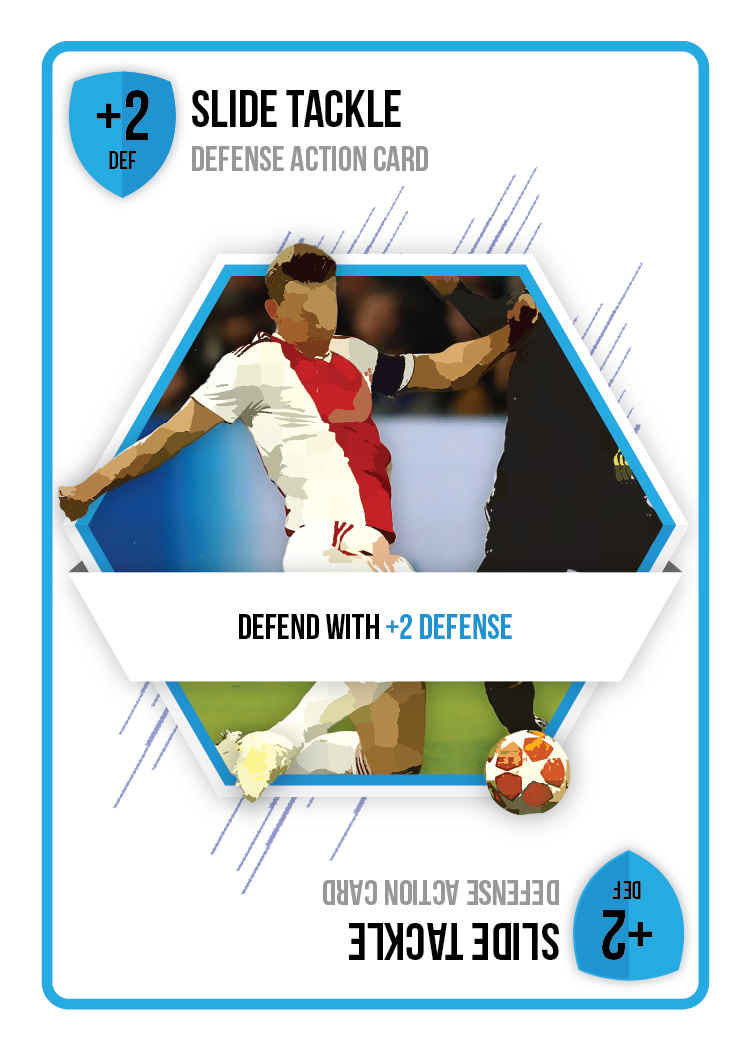
Defend with +2 Defense.
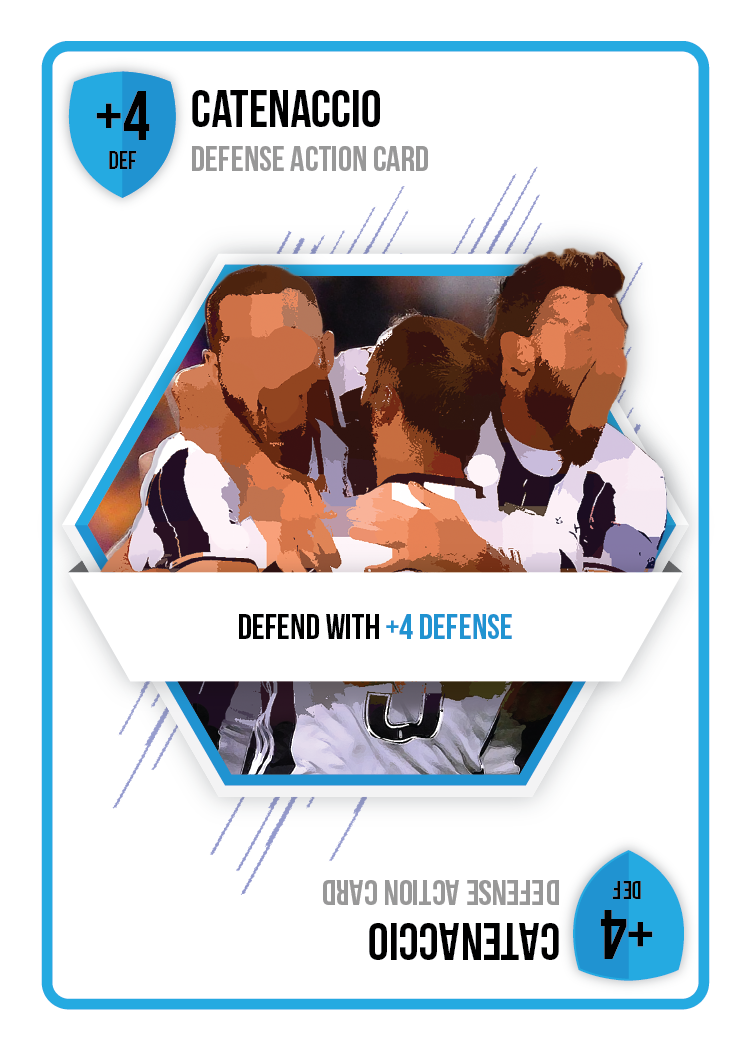
Defend with +4 Defense.
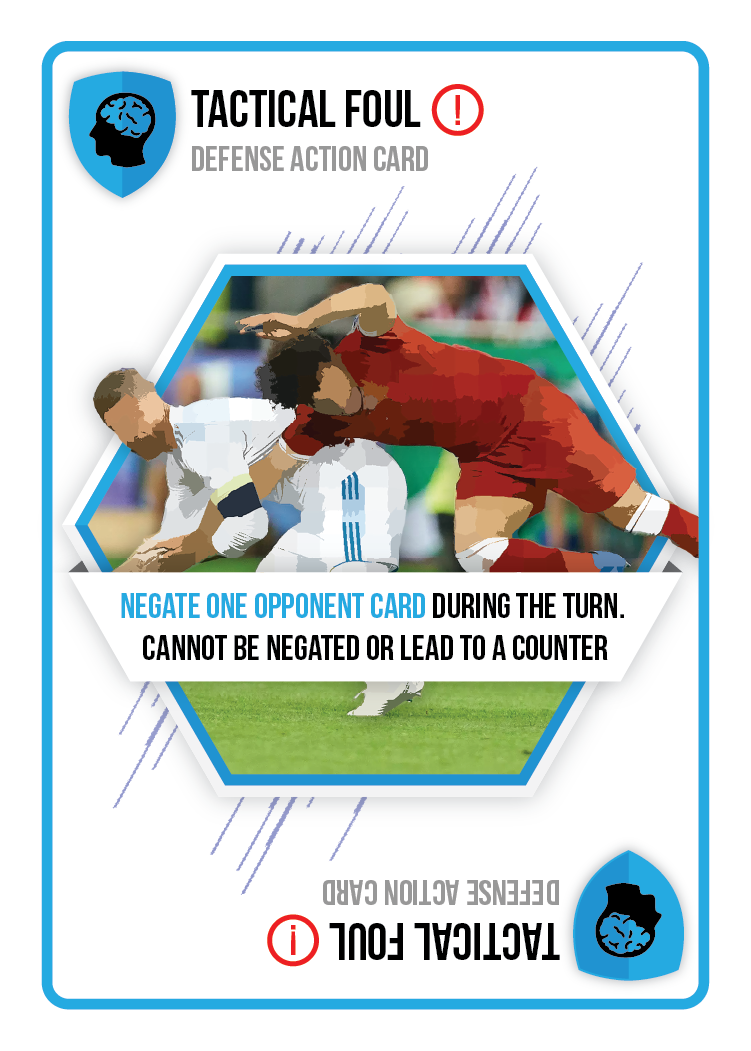
Negate one opponent card. Cannot be negated or lead to a Counter-Attack.
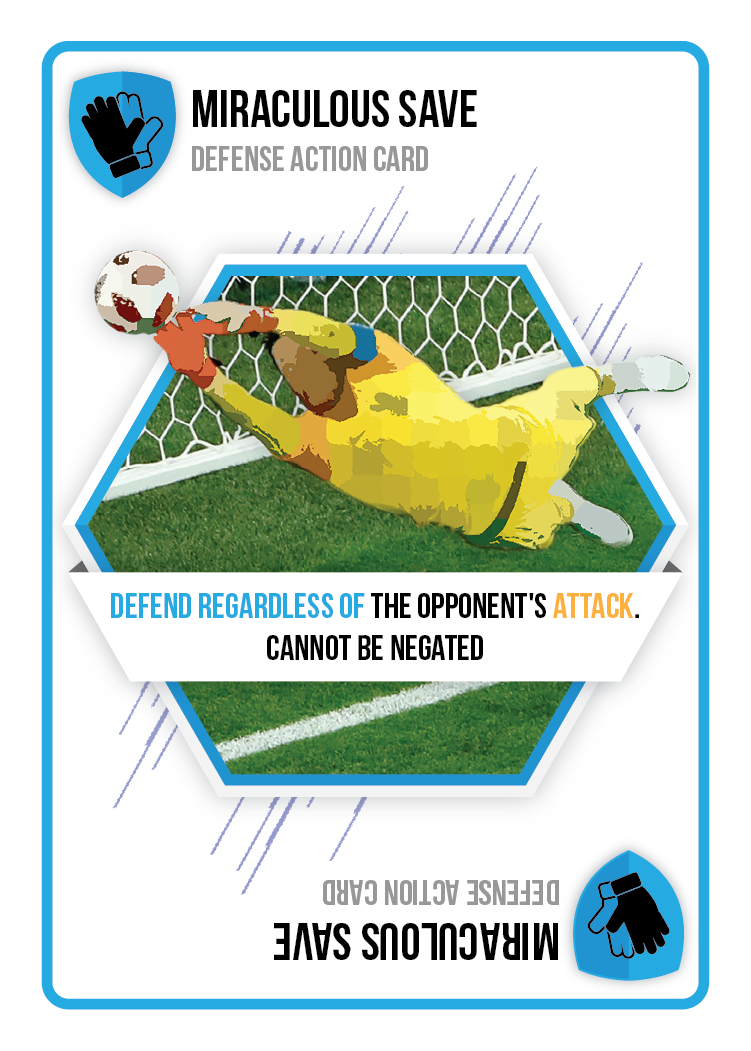
Defend regardless of the Attack. Cannot be negated.
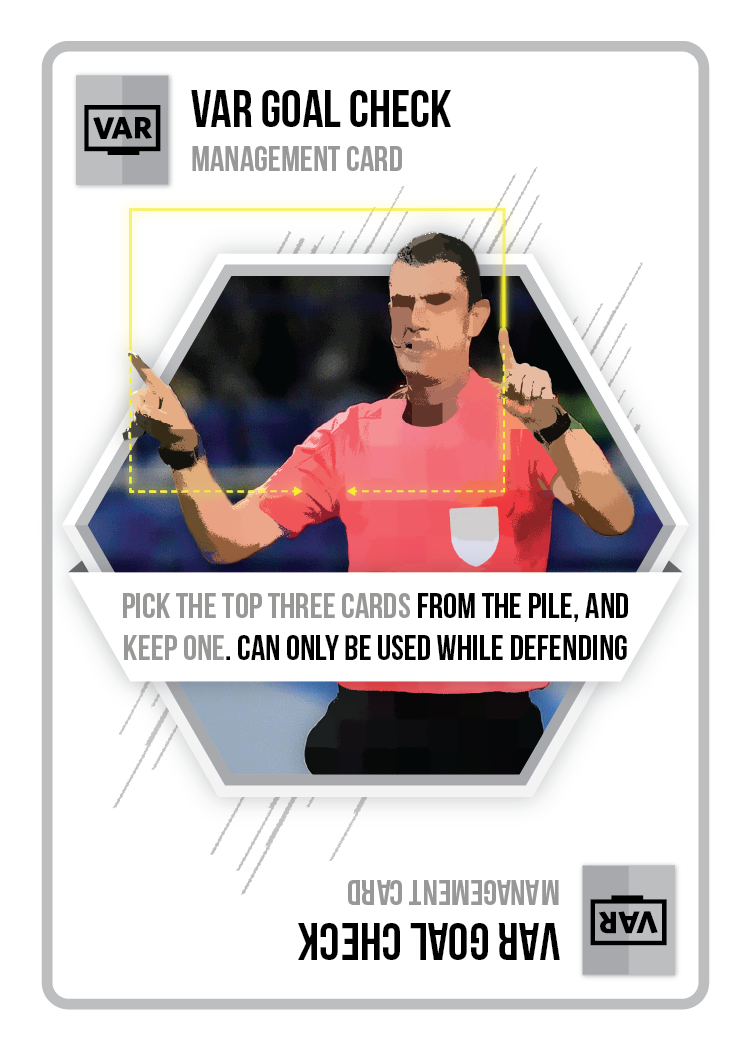
While defending, look at the top 3 cards and keep 1.
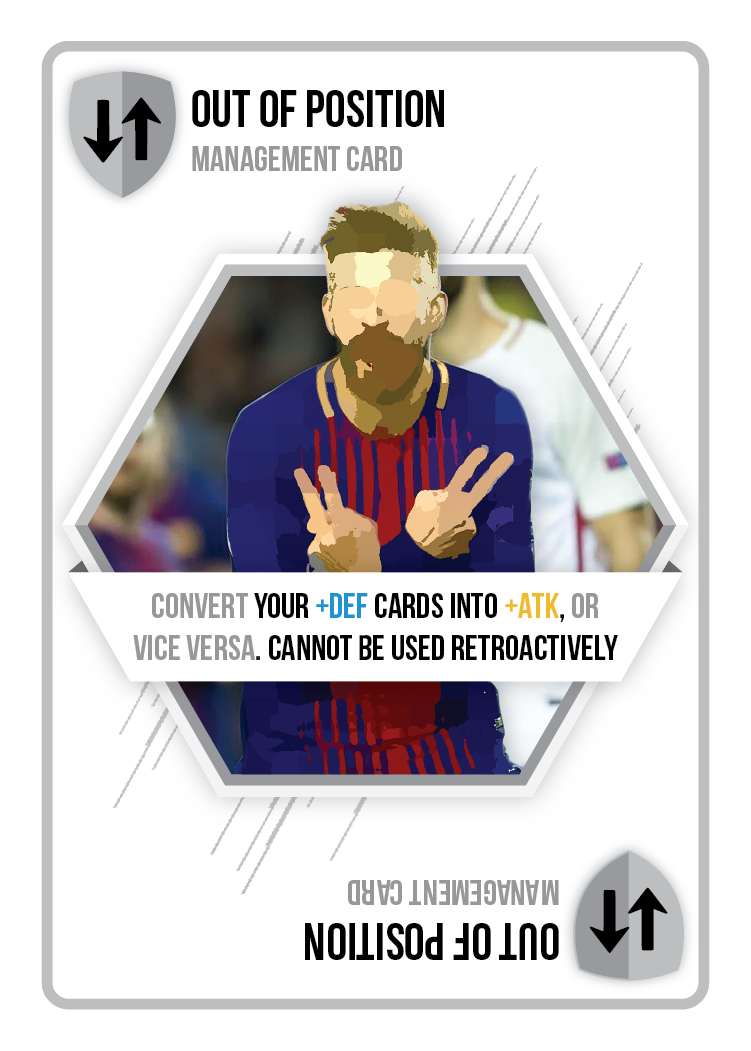
Convert +Defense into +Attack, or vice versa. Not retroactive.
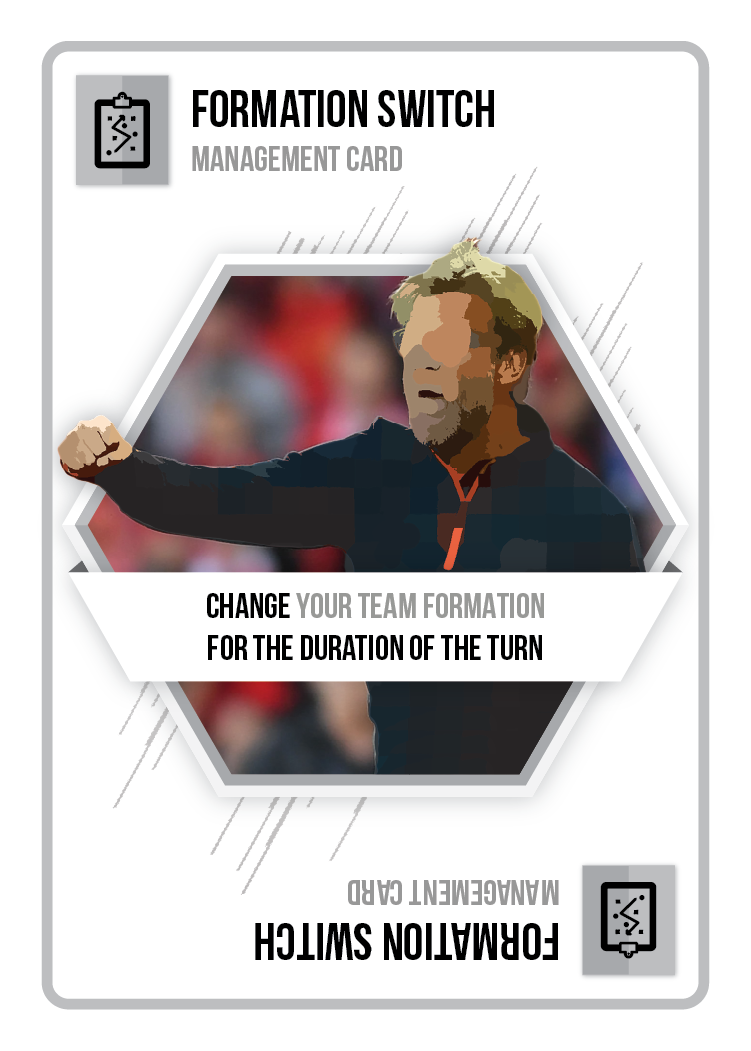
Change your formation for the duration of the turn.
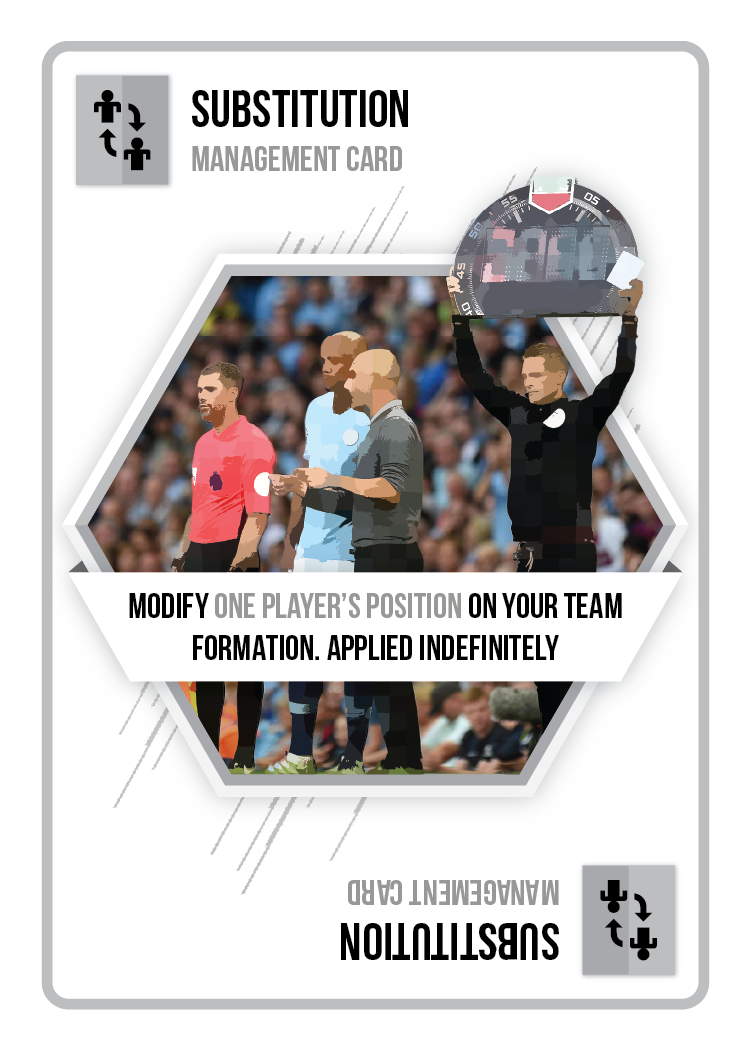
Move one Player to another position indefinitely.
Midfield cards choose a role. Play them while attacking or defending, but not both during the same exchange.
If the score is level
Settle it from the spot
2 vs 2
Play in teams of two with shared tactics and private hands.
Referee’s decision
Whenever an opponent plays a card, unless the card says otherwise. Penalty! is played immediately after a successful defense or Tactical Foul and before any additional card. Tactical Foul can stop a Counter-Attack if it is played just before the Counter and the opponent defended with +Defense cards.
No. Choose the complete initial Attack value when you launch the attack. Once initiated, you cannot add more +Attack cards or trigger a second attack.
A Counter-Attack can be boosted by Overlap, but not by adding +Attack cards. Once the Counter-Attack is played, the Defense cards used before it can no longer be negated. An Instant card can still stop the counter if played immediately before it.
No. Their effects only apply to cards played together with them, never to cards already used earlier in the turn.
If it negates an Attack card, the opponent cannot add more Attack cards. If it negates a Defense card, the opponent may continue defending. It cannot negate a card effect that has already resolved during the turn.
Players can agree to a draw, play Extra Time and then a shoot-out if needed, or go directly to the Penalty Shoot-Out.
Keep it pitch-side